
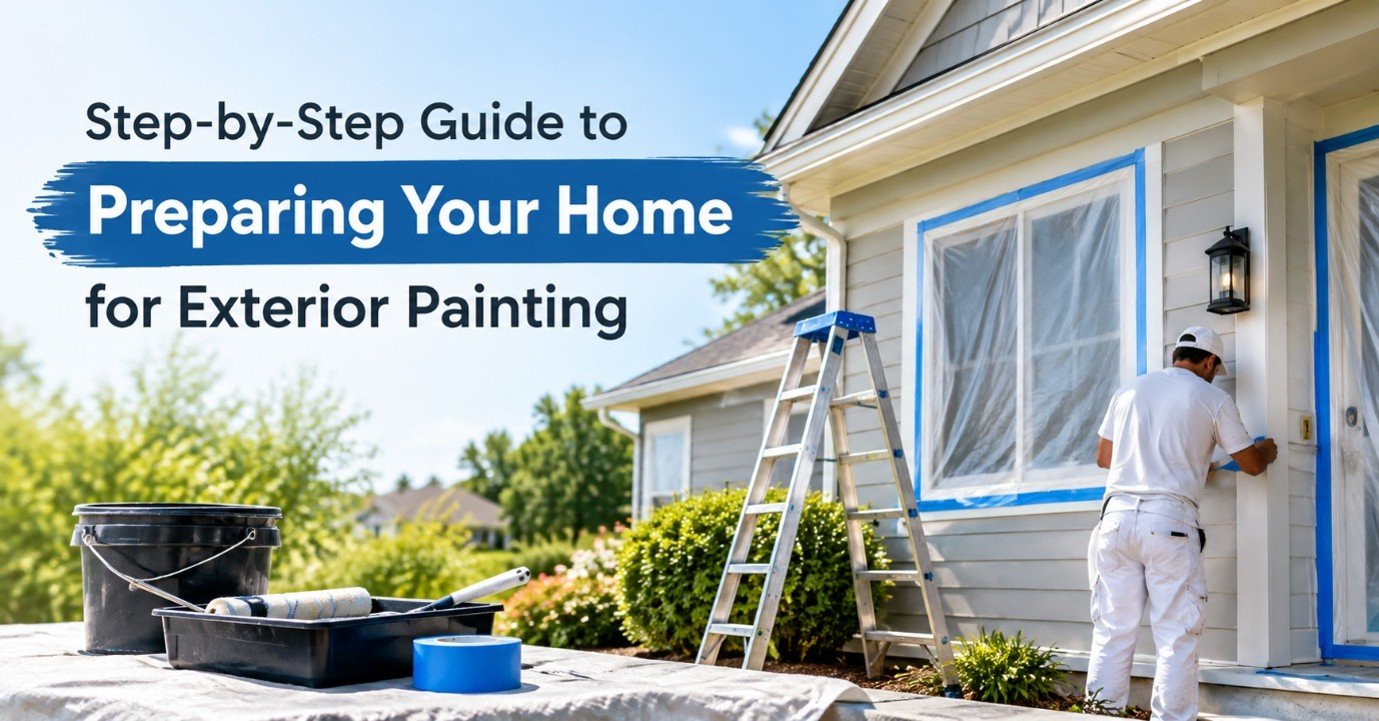
Proper preparation is key to a smooth, even and long-lasting exterior paint finish. It involves washing the surfaces, scraping loose or flaking paint, fixing cracks and damaged areas, masking windows and nearby surfaces, and then applying primer to bare or patched spots where needed.
Many homeowners focus on choosing colours, yet the real work happens before the first coat. Skip that stage, and even high-quality paint can peel, bubble or fade early. Reliable exterior painting services treat preparation as a core part of the job, not an extra.
Below, we’ll explain each step, what affects how much work your home needs, how prep differs for timber and rendered homes, warning signs to watch for and how to choose the right painter.
How Proper Preparation Works
Paint doesn’t fail because of the paint itself nearly as often as it fails because of what’s underneath it. Old, flaking paint, dust, mould, and hairline cracks all stop new paint from bonding properly to the surface.
Preparation is about creating a clean, sound, dry surface for the new coating to grip onto. That means removing anything loose, treating anything damaged, and priming anything that needs it. Done properly, this stage can take as long as the painting itself — and it’s the part that determines whether your paint job lasts five years or fifteen.
The good news is that most of this preparation follows a predictable sequence, whether you’re doing it yourself or hiring exterior house painting services to handle it for you.
5 Steps to Prepare Your Home for Exterior Painting
Here’s the order most professional painters follow and why each step matters.
1. Wash Down the Surfaces
A pressure wash or thorough scrub removes dirt, cobwebs, mould, and chalky old paint residue. Painting over grime is one of the fastest ways to end up with peeling patches within a year.
2. Scrape and Sand Old Paint
Any flaking, blistering or peeling paint needs to be scraped back and sanded smooth. Leaving loose paint underneath a new coat just means the new layer will lift with it later.
3. Repair Cracks and Damage
Any hairline cracks, gaps around windows and doors, or damaged weatherboards and render should be fixed prior to painting. This is because painting will only mask the problems for a while and not fix them.
4. Mask and Protect
Windows, door handles, light fixtures, garden beds and paths get covered or masked off. It’s a step that takes time but saves a lot of cleanup and touch-up work later.
5. Apply Primer Where Needed
Timber that is bare, patched up, and changes colour drastically requires the application of a primer or sealer before the topcoat can be applied. A primer makes sure that the surface is smooth and that the patches do not show up in a different colour.
What Affects How Much Preparation You Need?
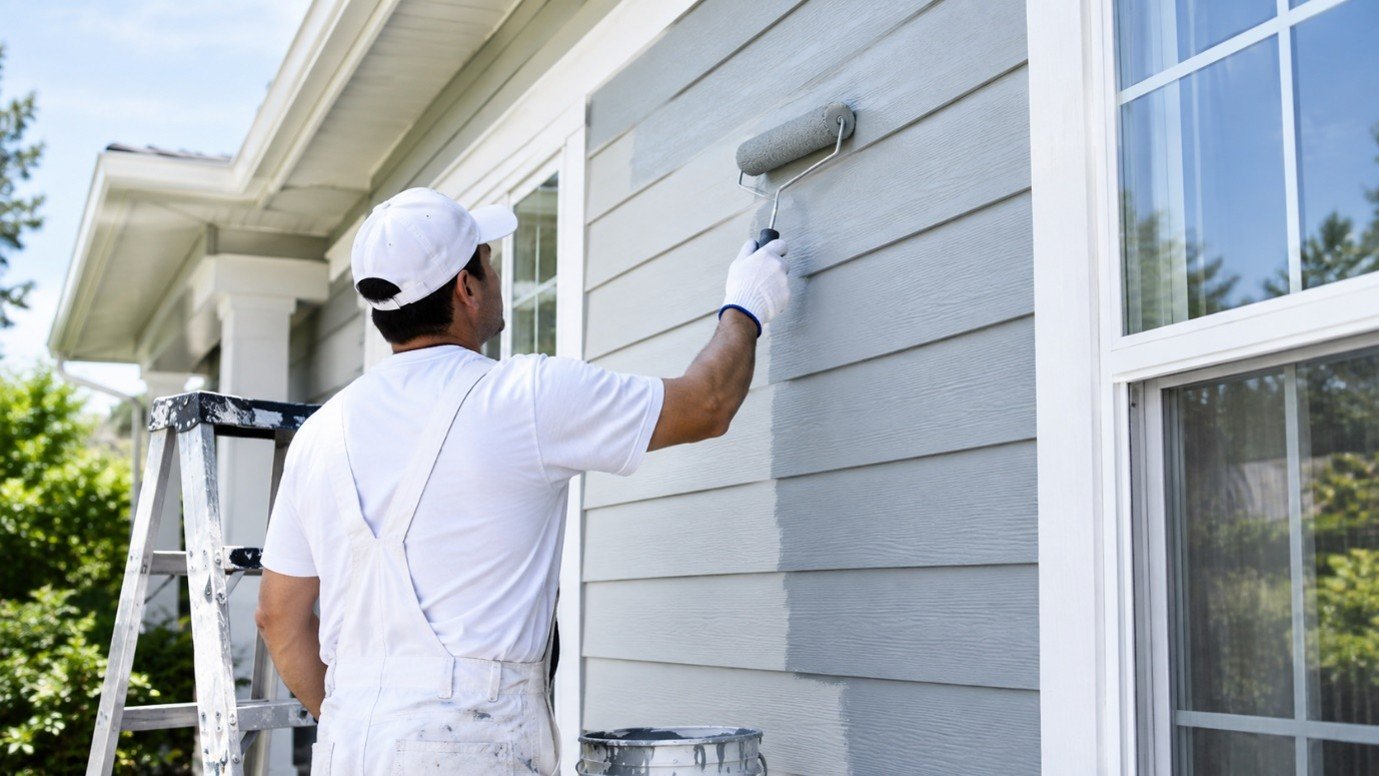
Not every home needs the same amount of work. How much preparation is required usually comes down to:
- Age and condition of the existing paint layer: Old, flaky or peeling paint will need to be scraped and primed more than a home that has faded over time.
- Surface type: Wood, render, brick and fibre cement will react in a different way.
- Climate exposure: The walls that get a lot of sun and salt will require more restoration than those that don’t.
- Previous painting works: The home that gets painted on a regular basis is going to need less work compared to the one that hasn’t been done for quite some time.
- Degree of damage: Any cracks, decay or mould will affect the amount of preparation that has to be done before the actual painting.
Getting this stage right is less about rushing to the “fun part” and more about setting the paint up to actually last.
Does Preparation Differ for Different Home Types?
Yes. A weatherboard home, a rendered brick house, and a fibre cement home all need slightly different approaches.
Weatherboard and timber homes usually need any rot cut out and replaced, gaps caulked, and bare timber primed before painting, since timber absorbs moisture and paint unevenly if it’s left untreated.
Rendered and brick homes often need cracks raked out and filled, efflorescence (that white powdery residue) treated, and a stabilising primer applied so the paint doesn’t just sit on a chalky surface.
If you’re comparing exterior house painting services near me, ask how they handle your specific wall material, since the prep steps for timber and render aren’t interchangeable.
Signs Your Home Is Ready (or Overdue) for Exterior Painting
Not sure if it’s time? These are common signs it’s worth getting a quote:
- The paint is visibly fading, chalking, or a different shade than it used to be.
- You can see cracking, peeling, or bubbling on any exterior surface.
- Bare patches of timber, render or metal are exposed to the weather.
- It’s been eight to ten years (or more) since the last full repaint.
- You’re noticing damp patches, mould, or timber that feels soft to the touch.
The earlier these signs are addressed, the less repair work is usually needed before painting can begin.
Searching for Exterior Painting Services? What to Look For
Choosing the right team matters as much as the prep itself. When comparing exterior painting services, look for:
- A clear scope of work: The quote should spell out exactly what preparation is included, not just “paint applied”.
- Repairs included, not skipped: Ask specifically how cracks, rot, or damaged sections will be handled.
- Quality primers and paints: Cheaper isn’t always cheaper long-term if the prep and products are second-rate.
- Experience with your home type: Timber, render, and fibre cement all need different know-how.
- Photos of past work: A reputable painter should be able to show before-and-after examples.
- Insurance and warranty: Exterior work should be covered, and any workmanship warranty should be in writing.
Final Thoughts
Preparing a home for exterior painting isn’t the most exciting part of the process, but it’s the part that decides whether your paint job looks sharp for five years or starts peeling within one. Washing, scraping, repairing, masking, and priming all set the stage for a coat of paint that actually bonds and lasts.
If your home is showing signs of wear, it’s worth reaching out to a few professional house painting services near you, comparing how thoroughly each one handles preparation, and getting a clear quote before work begins.
Frequently Asked Questions
How long does it take to prepare a house for exterior painting?
Depending on the nature of the house and its state, this can range anywhere from a single day to fix up a clean house to several days depending on the need for repairs.
Do I need to prime before exterior painting?
Not necessarily. Raw wood, patchwork, and colour alteration generally require priming, but existing paint can be okay.
Can I paint over old paint without scraping it back?
However, this only becomes possible when the paint coating has remained sufficiently adhered to the surface. If not, all the flaking paint needs to be removed first.
How do I know if my home needs repairs before painting?
Check for cracks, soft or decayed wood, damp areas, and peeling paint. These should be taken care of prior to painting.
Is it worth hiring professional exterior painting services for preparation?
Yes, for most houses. Professional painters understand how to identify problems below, fix them, and prepare surfaces so that the paint will last as it is supposed to.
Ready for a Fresh Exterior?
The key to a long-lasting paint job is a well-prepared surface. Before the first coat is applied, we prepare it with our experienced team. Call us today for a no-cost estimate for painting the exterior of your home.